
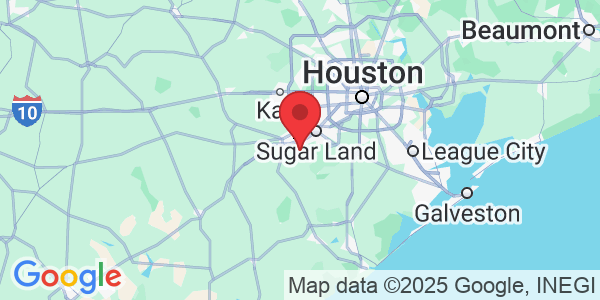
Pressure Washing Services in Fort Bend County, Texas
Soft wash & pressure washing services to boost your home’s curb appeal. Affordable, professional cleaning.
Get 20% Off Any Service!
Fill in your details to redeem this offer for new customers.
Superior Customer Service
Fully Licensed & Insured
Family-Owned
Prompt & Reliable
Commercial-Grade Equipment
100% Satisfaction Guaranteed
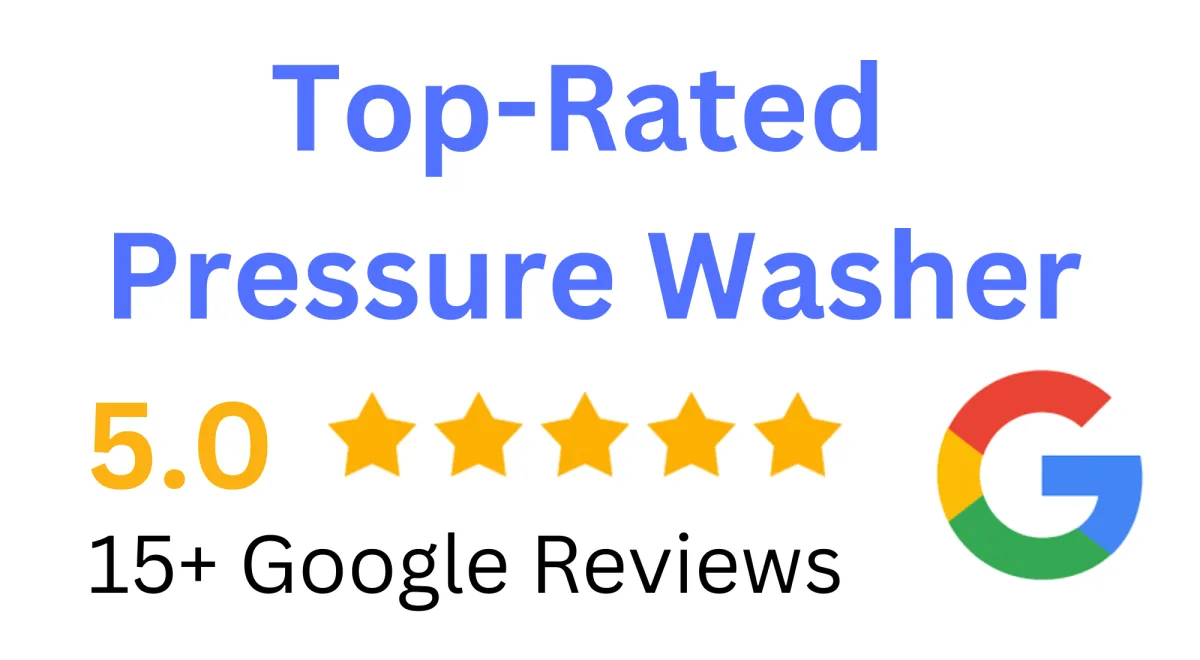
5-Star Rated on Google
Custom Stain Removal
Premium Exterior Cleaning Solutions
We provide a full range of professional exterior cleaning services designed to elevate your home’s appearance from every angle. Whether you need one service or the complete package—your choice, your schedule, your stunning results.
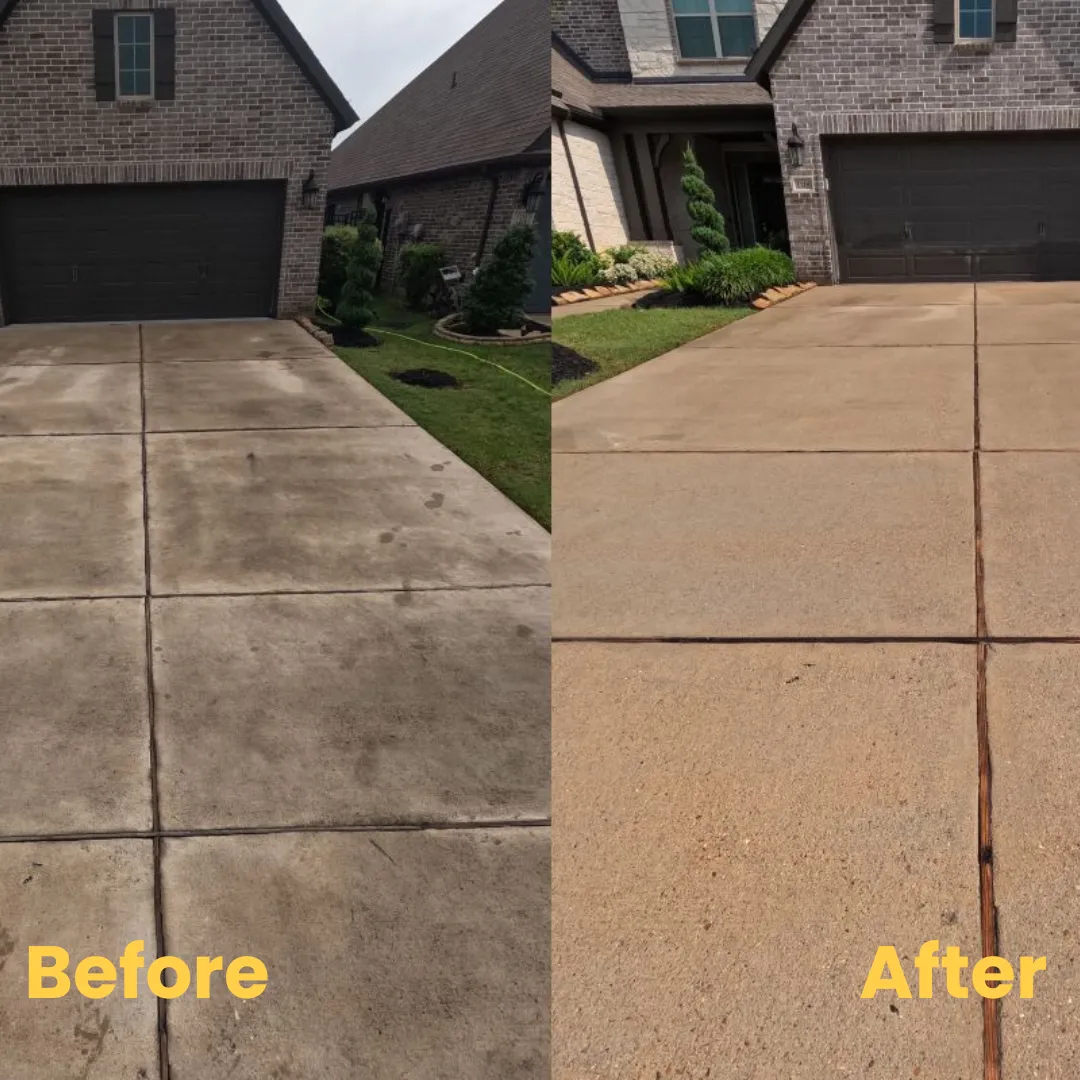
concrete surface cleaning
We blast away dirt, algae, and grime from driveways, patios, and sidewalks using commercial-grade surface cleaners—leaving your concrete spotless, safe, and like new.
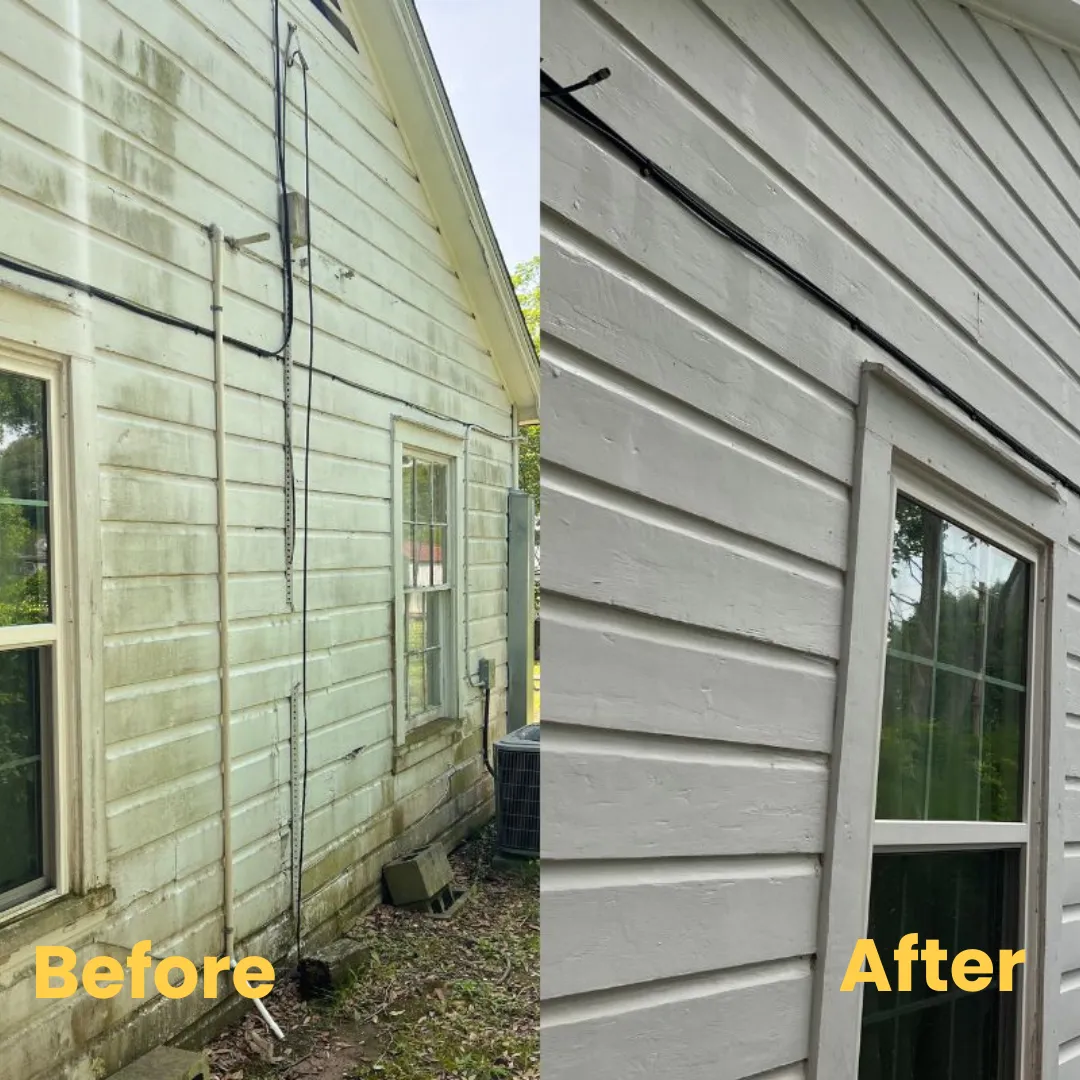
House Wash
Our soft wash service gently removes dirt, mold, and mildew from siding, soffits, and trim—restoring your home’s beauty without damaging surfaces or paint.

Window Wash
We safely clean your window frames, trim, and tracks using a low-pressure soft wash that removes mold, mildew, and buildup—leaving your windows fresh and clean.
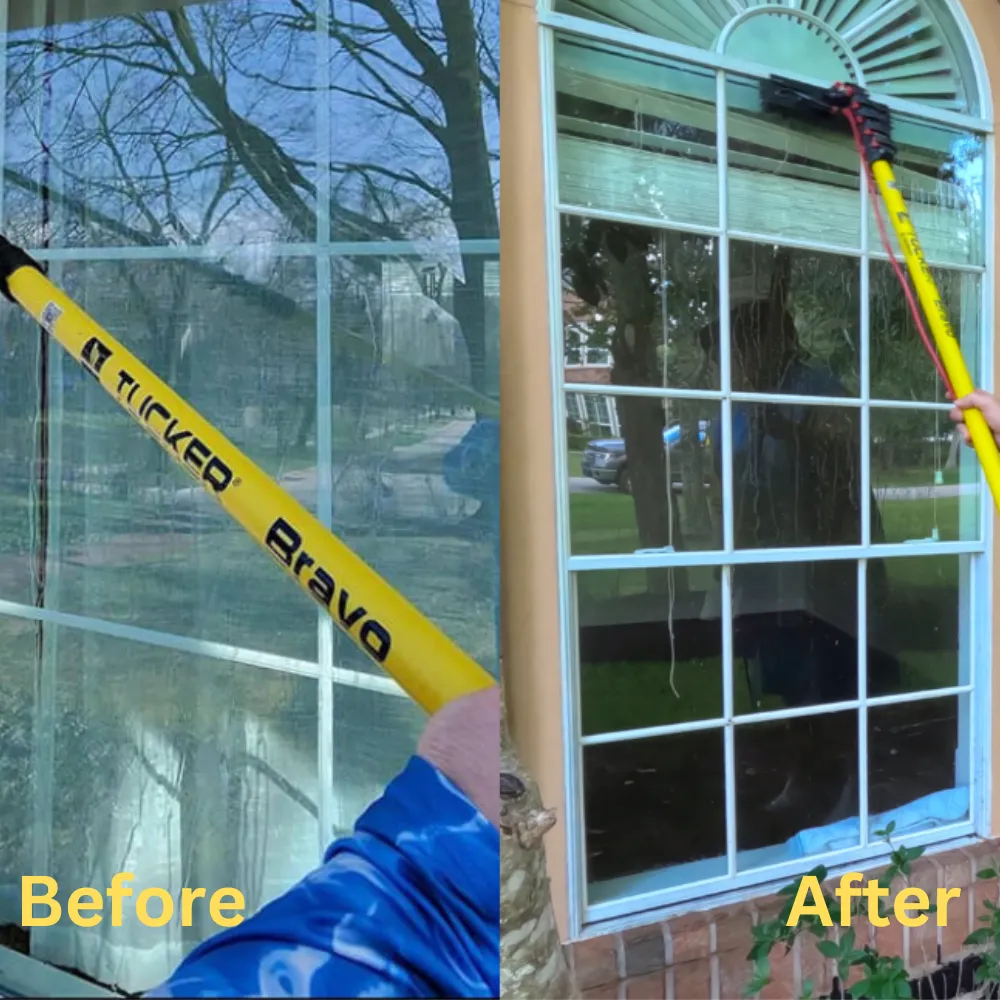
Tucker Window Glass Cleaning
Using purified water and a professional Tucker pole system, we deliver a crystal-clear, spot-free finish to your windows—no streaks, just shine.

Roof Wash
Say goodbye to black streaks and moss. Our soft wash roof cleaning restores your roof’s look and lifespan—no pressure, just results that protect and impress.
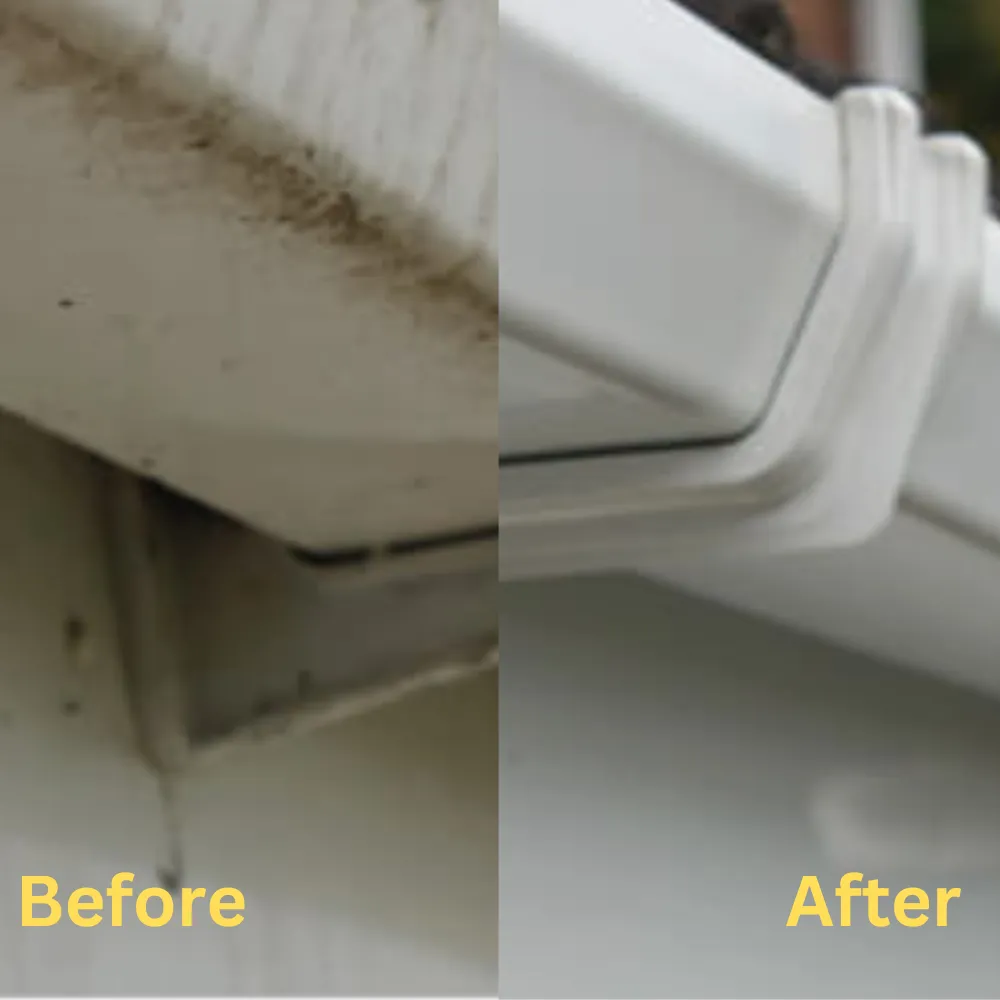
Gutter Brightening
Restore your home’s curb appeal with our Gutter Brightening service—removing black streaks, dirt, and grime for a like-new shine. Safe, effective, and spotless results every time!

Customer Testimonials: Real Experiences, Real Results
Real Experiences with Our Pressure Washing, Soft Washing, and Power Washing Services
Why We're Different!
At PatriotPro Soft Wash & Exterior Cleaning, we pride ourselves on being more than just a cleaning service. As a locally owned and family-operated business, we treat every home with the care it deserves. Our team is fully licensed, insured, and professionally trained to ensure top-quality results every time. We use state-of-the-art soft wash and pressure washing equipment to provide deeper, longer-lasting cleans that enhance your property’s curb appeal. From fast, reliable communication to a 100% satisfaction guarantee, we prioritize your needs at every step. With a 5-star rating on Google and a reputation built on trust, we’re the go-to choice for homeowners in Fort Bend County who demand exceptional service.
Fast, Reliable Communication
100% Satisfaction Guarantee
Locally Owned & Family-Operated
PatriotPro Soft Wash & Exterior Cleaning
(888)381-9274
Hours of Service:
Mon-Sat 08:00 am – 07:00 pm
Sun CLOSED